How to make videos for an online course
Plan short lessons with one goal each, pick the right style for each lesson, get the sound right, add a question after every video, and build for updates.
By the Chasca team 7 min read
To make videos for an online course, plan it as a series of short lessons with one objective each, keep every video under six minutes, choose the simplest style that shows what each lesson needs, write the script first, get the sound right, put a question after every video, add captions, and build it all so that one change means one small edit. The camera matters less than most creators expect. The plan and the audio matter more.
Online courses have a completion problem. In six years of data from Harvard and MIT courses on edX, Justin Reich and José Ruipérez-Valiente found that low completion rates had not improved. Video alone won’t fix that, but the steps below, drawn from research on educational video, remove the most common reasons people stop watching.
Step 1: How should you split a course into videos?
Start from what learners should be able to do, not from everything you know. List the course’s outcomes, group them into modules, then split each module into lessons with one objective each:
After this video, you can ______.
One objective, one video. Name each video after its objective (“Price your first workshop”), so learners can find it again. When Philip Guo, Juho Kim and Rob Rubin analyzed 6.9 million viewing sessions on edX, their first recommendation was to invest heavily in this planning, so that lessons come out as chunks shorter than six minutes.
Splitting helps learning, not just attention. A meta-analysis of 56 studies found that lessons split into meaningful segments, which learners move through at their own pace, were remembered and applied better than the same lesson as one continuous stream.
Step 2: How long should each course video be?
Under six minutes, and often two to four. In Guo’s data, median engagement time was at most six minutes however long the video was, and fewer students attempted the follow-up question after longer videos. If a lesson runs longer, it usually holds two objectives, so make two videos. There is more in how long an explainer video should be and do short videos help people learn?
Step 3: Which style should each lesson use?
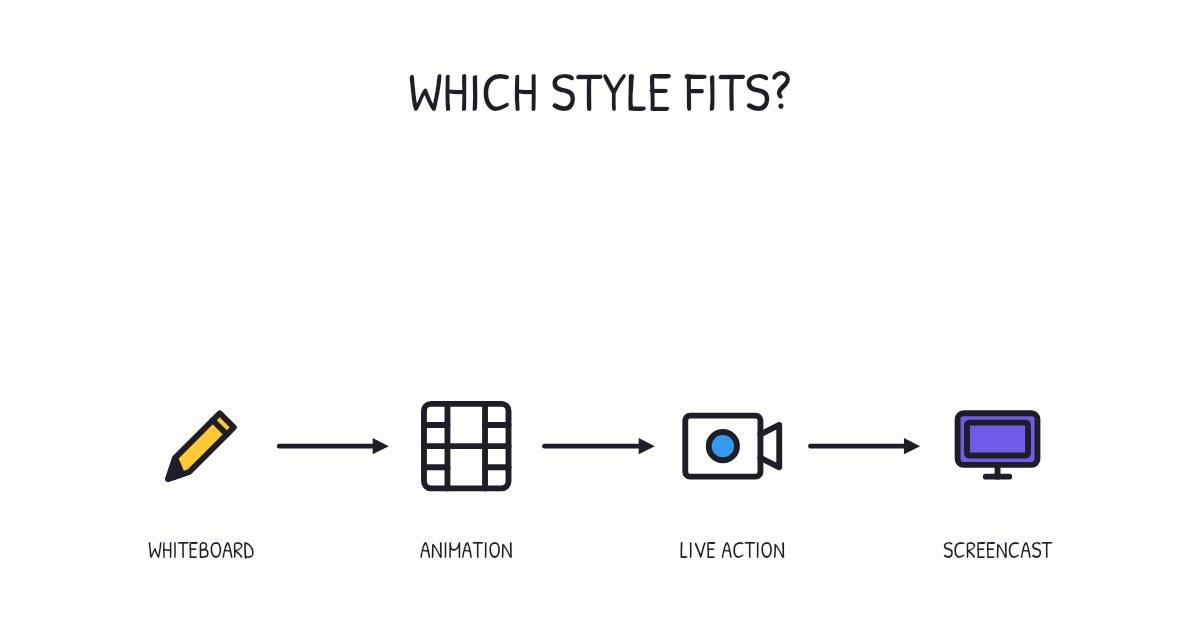
A course doesn’t need one style. Match the format to what each lesson has to show:
| Lesson | Format that fits |
|---|---|
| Welcome, module introductions, encouragement | You, talking to camera |
| A concept, a mechanism, the “why” behind a method | A drawn explainer |
| A task in software | A screencast |
| A physical skill | A filmed demonstration |
| Data, a framework or a case study | Slides with visuals, cut with your face |
Guo’s findings point the same way. Khan-style tablet drawings were more engaging than PowerPoint slides or code screencasts, videos that interspersed a talking head with slides were more engaging than slides alone, and videos with a more personal feel could be more engaging than high-fidelity studio recordings. Our guide to the types of explainer videos compares the styles in more detail.
Should you show your face?
For connection, yes. For learning, it makes little difference. A 2022 meta-analysis of 20 experiments found that showing the instructor did not significantly change learning or social presence, but it did raise motivation, along with cognitive load. When René Kizilcec and colleagues let 2,951 online learners choose, those who watched with the instructor’s face reported a better experience, but 35% chose to watch without it, for reasons that included avoiding distraction.
So use your face where it does a job: welcomes, module introductions, stories and encouragement. When you explain, give the screen to the drawing, the slide or the software.
Step 4: How do you script a course video?
Write the script before you record. It is the cheapest place to fix a lesson.
- Talk to one learner. Use “you” and plain words. A conversational rather than formal style is one of Richard Mayer’s evidence-based principles for multimedia instruction.
- Name what’s on screen as it appears, and show nothing you don’t mention.
- Budget about 150 words a minute.
- Don’t slow down. In Guo’s data, videos in which instructors spoke fairly fast and with high enthusiasm were more engaging.
Our script guide has a fill-in template.
Step 5: What equipment do you actually need?
Less than you think, and sound comes first. In experiments by Eryn Newman and Norbert Schwarz, people heard the same conference talks and radio interviews in high or low audio quality. When the audio was poor, they rated the research and the researcher less favorably, even though the content was identical.
- A microphone close to your mouth, such as a USB or clip-on microphone.
- A quiet room with soft furnishings, which absorb echo.
- A phone camera at eye level, with you facing a window or a soft light.
An informal setting is fine. You don’t need a studio.
Step 6: How do you keep learners going between videos?
Ask a question after every video. In a Harvard study, Karl Szpunar and colleagues split a 21-minute recorded lecture into four parts. Students who took a short quiz after each part reported mind wandering on 19% of checks, against 41% for students who did unrelated arithmetic between the parts, and they scored 90% on the final test against 68%.
- End each video with one question about its objective, a pause, then the answer.
- Put a short quiz or task at the end of each module.
- Let learners move at their own pace, and make every video easy to find again.
Step 7: How do you keep a course accessible and up to date?
- Turn on captions. Captions for prerecorded video are a Level A requirement in the Web Content Accessibility Guidelines, and they help people watching in a second language or with the sound off.
- Offer a transcript for learners who would rather read or search.
- Keep the scripts as the master copy. Update the script, then the video.
- Keep videos short and modular, so a change touches one short video, not a whole module.
How do you make course videos with Chasca?
Use it for the explaining. Type a lesson topic, or drop in your notes, your slides, a PDF chapter or a recording of a live session, and Chasca writes the script, splits it into scenes and draws each one stroke by stroke in time with the narration, usually in about a minute. Every lesson ends with a question and a one-line recap, and paid plans make lessons of up to 30 minutes, told in chapters past six.
There are 30 narrators, so a course can keep one voice from the first lesson to the last, and the same lesson can be made in 79 languages, 68 of them with a narrator voice. When something changes, make that lesson again from your updated notes in about a minute. Download each lesson as an MP4 with subtitles for your course platform, or share a link. Custom branding with your logo, colors and fonts is on the Pro plan.
Chasca doesn’t film you, so record your welcome and module introductions on your phone, and let the drawings carry the explanations. The examples page shows finished videos.
A checklist for every course video
- One objective, written as something the learner can do.
- Under six minutes.
- The simplest style that shows what the lesson needs.
- Clear sound.
- A question at the end, then the answer.
- Captions and a transcript.
- A script you can update.
Sources
- Reich, J., & Ruipérez-Valiente, J. A. (2019). The MOOC pivot. Science, 363(6423), 130–131.
- Guo, P. J., Kim, J., & Rubin, R. (2014). How video production affects student engagement: An empirical study of MOOC videos. Proceedings of the ACM Conference on Learning at Scale.
- Rey, G. D., Beege, M., Nebel, S., Wirzberger, M., Schmitt, T. H., & Schneider, S. (2019). A meta-analysis of the segmenting effect. Educational Psychology Review, 31, 389–419.
- Alemdağ, E. (2022). Effects of instructor-present videos on learning, cognitive load, motivation, and social presence: A meta-analysis. Education and Information Technologies, 27(9), 12713–12742.
- Kizilcec, R. F., Bailenson, J. N., & Gomez, C. J. (2015). The instructor’s face in video instruction: Evidence from two large-scale field studies. Journal of Educational Psychology, 107(3), 724–739.
- Mayer, R. E. (2008). Applying the science of learning: Evidence-based principles for the design of multimedia instruction. American Psychologist, 63(8), 760–769.
- Newman, E. J., & Schwarz, N. (2018). Good sound, good research: How audio quality influences perceptions of the research and researcher. Science Communication, 40(2), 246–257.
- Szpunar, K. K., Khan, N. Y., & Schacter, D. L. (2013). Interpolated memory tests reduce mind wandering and improve learning of online lectures. Proceedings of the National Academy of Sciences, 110(16), 6313–6317.
- W3C. Understanding Success Criterion 1.2.2: Captions (Prerecorded). Web Content Accessibility Guidelines 2.2.
Video transcript What the narrator says in the 1:02 explainer above.
Want course videos learners finish and can use? Build them like drawers: one thing learners can do in each. Plan one objective per video, keep it under six minutes, and choose the simplest style that shows the lesson: your face for welcomes, drawings for explanations, or a screencast for software.
Write the script first. Talk to one learner, and name what appears on screen. Then get the sound right: a close microphone and a quiet room matter more than a studio. After every video, ask one question about its objective, pause, then give the answer.
Add captions and a transcript, and keep scripts as the master copy. When a lesson changes, edit that drawer, not the whole course. Chasca can draw explanations, while you film welcomes on your phone. How do you make each lesson easier to learn from? Give it one objective, clear sound, and a question.
Questions people ask
Under six minutes each, and two to four minutes for a single idea. In 6.9 million viewing sessions on edX, median engagement was at most six minutes however long the video ran, and the researchers' first recommendation was to plan lessons as chunks shorter than six minutes.
It helps connection more than learning. A 2022 meta-analysis of 20 experiments found that showing the instructor did not significantly change how much people learned, but it did raise their motivation. Show your face in welcomes and introductions, and switch to drawings, slides or your screen when you explain.
Good sound matters most. In experiments by Eryn Newman and Norbert Schwarz, listeners rated the same researchers and research less favorably when the audio quality was poor. A decent microphone, a quiet room with soft furnishings and a phone camera are enough to start. Face a window, so the light falls on you.
Keep each video short, give it one objective, and put a question after it. In a Harvard study of a recorded lecture split into four parts, students quizzed after each part mind-wandered about half as often and scored 90% on the final test, against 68% for students who were not quizzed.